
| LandingLens | LandingLens on Snowflake |
|---|---|
| (see exceptions below) |
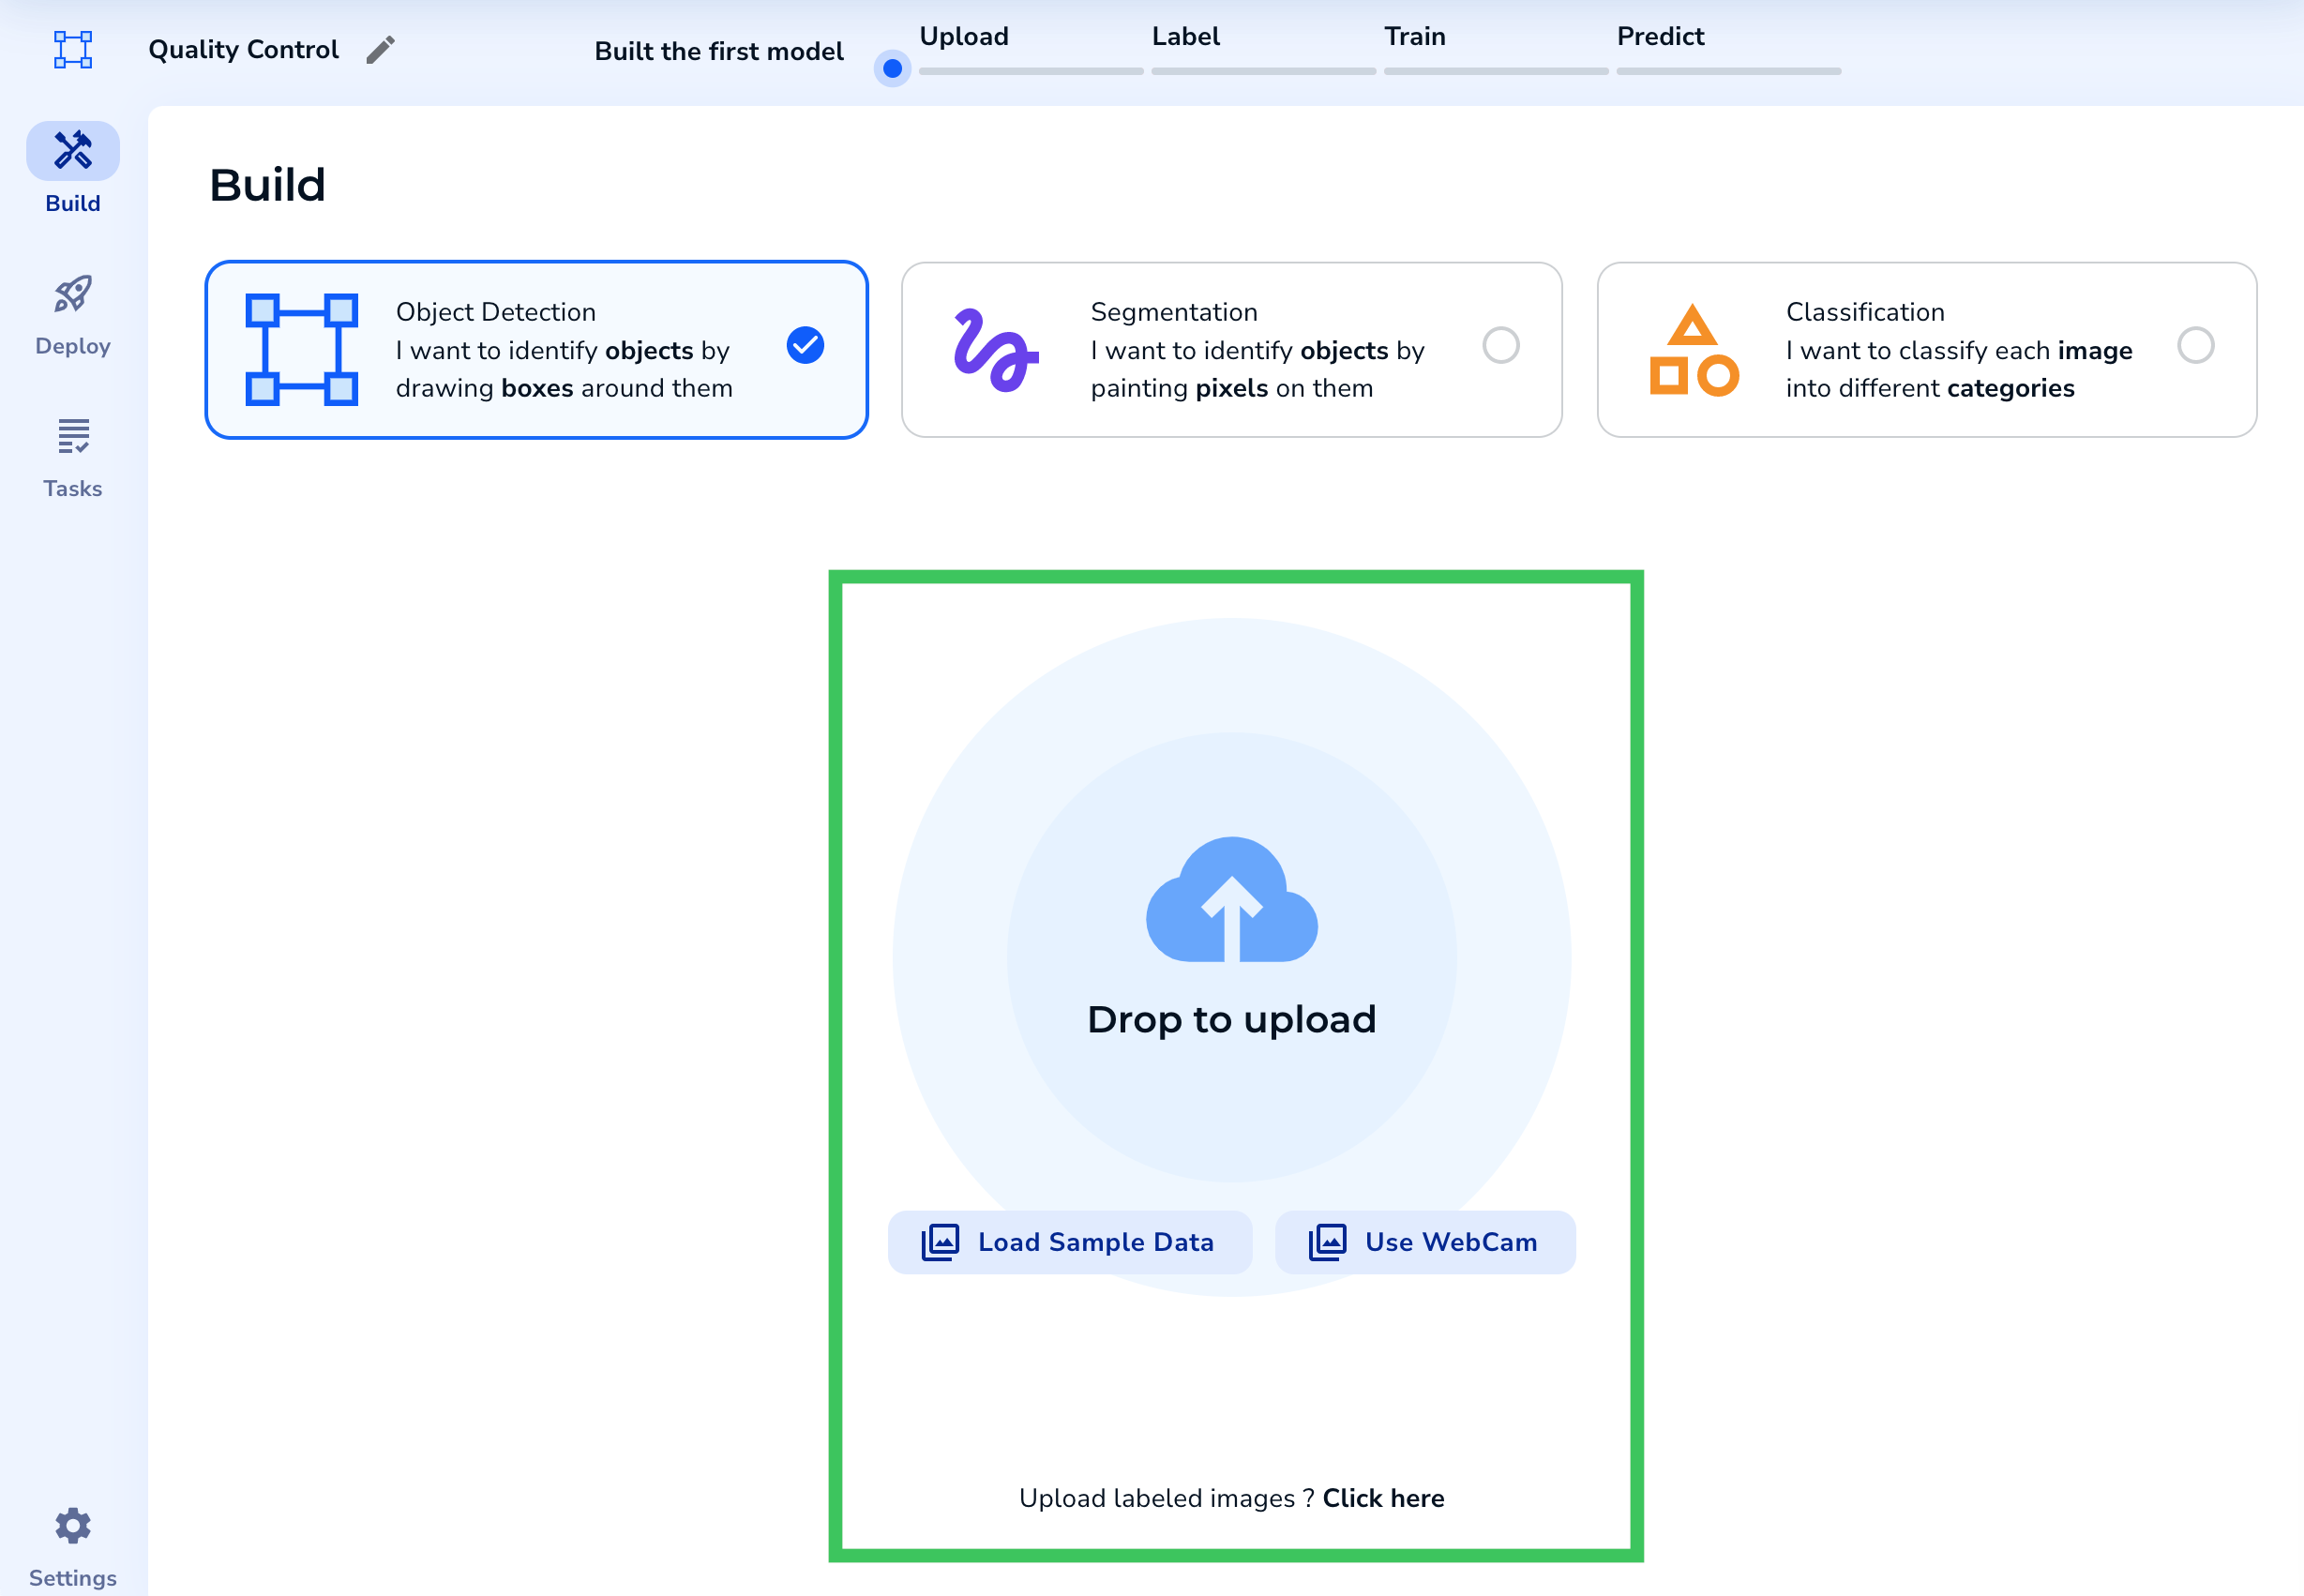
After you create a project, upload images to it. LandingLens will train a model based on the images you upload and label.
Supported Files Types
Do you have DICOM (Digital Imaging and Communications in Medicine) files or images in another non-supported file format? Convert them to PNGs first, and then upload them to LandingLens.
Image Size
When uploading images to LandingLens, the maximum image size is based on project type. All image size maximums are based on the number of pixels (and not based on image file size).Images might be resized when training a model. For more information, go to Model Training.
How Do I Know How Many Pixels My Image Has?
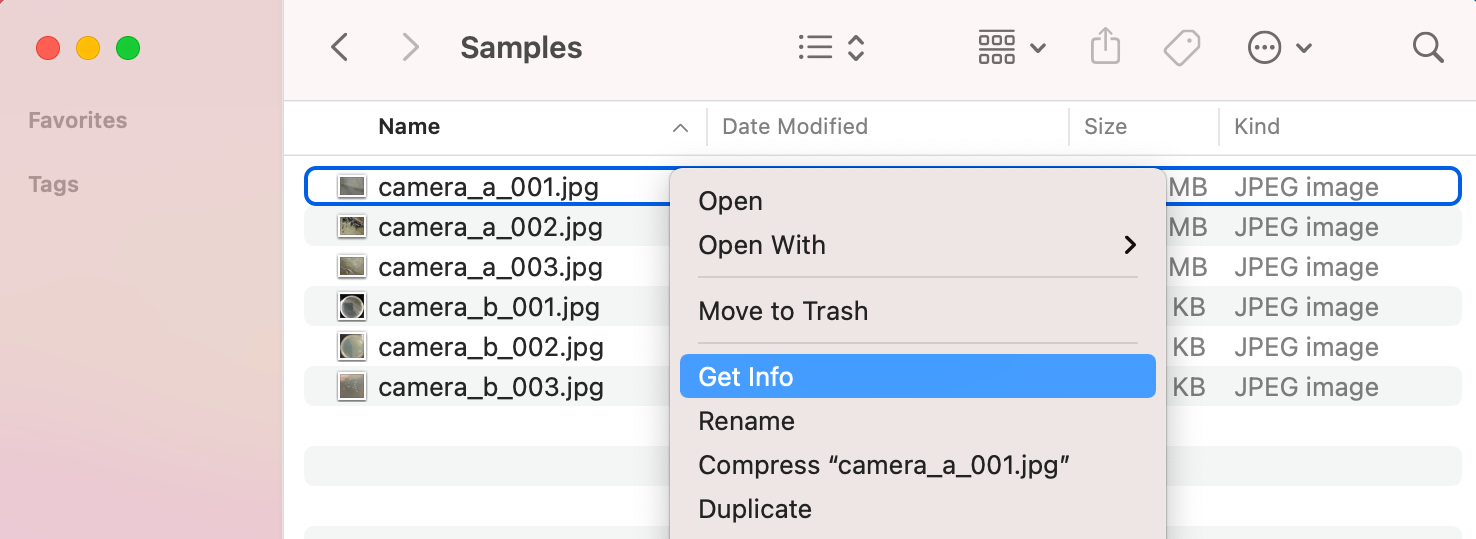
The image size maximums are based on the number of pixels. You can see an image’s dimensions in image editors like Photoshop and Illustrator. You can also see the dimensions directly on your computer, without needing to open the image in an application. See the instructions below.View Image Dimensions on a Mac
- Right-click the image and select Get Info.
- Expand the More Info section.
- The Dimensions line gives you the image dimensions (in pixels). Multiply the two dimensions together to get the total number of pixels.
For example, if the dimensions are 4000x3000, the total number of pixels is 12 million, which is 12MP. That means you can upload the image to any project type.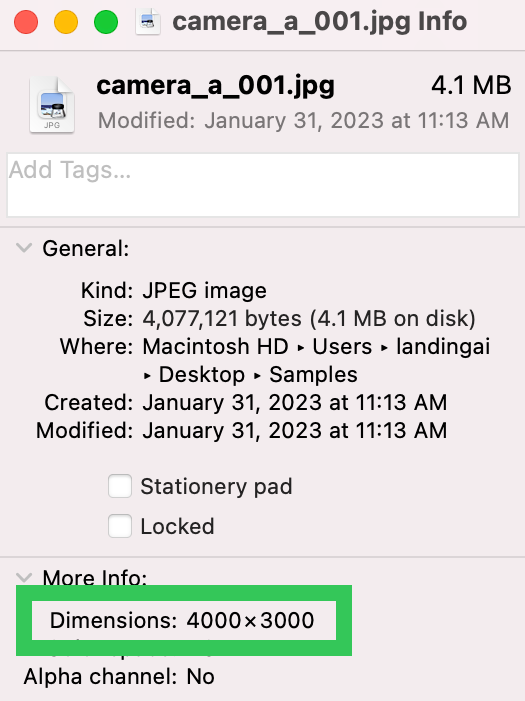
View Image Dimensions in Windows
- Right-click the image and select Properties.
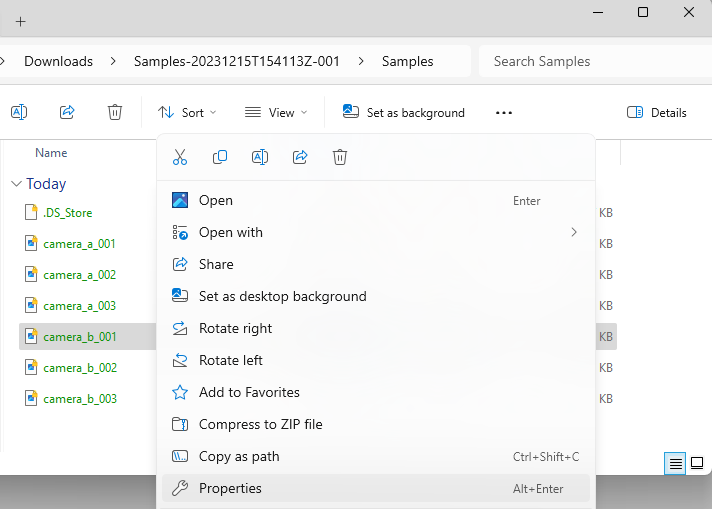
- Click the Details tab.
- The Dimensions line gives you the image dimensions (in pixels). Multiply the two dimensions together to get the total number of pixels.
For example, if the dimensions are 250x250, the total number of pixels is 625,000, which is 62.5KP. That means you can upload the image to any project type.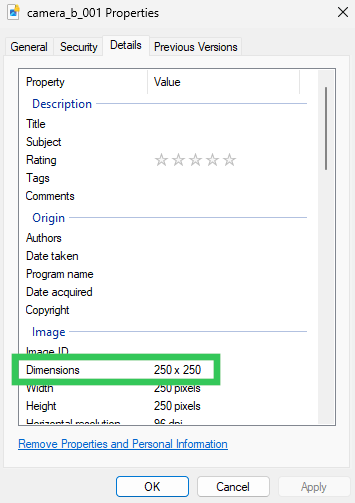
What If My Image Has Too Many Pixels?
If you attempt to upload an image that is over the maximum image size (which is in pixels), you’ll get an error message. As a short-term solution, resize your image in an image editor like Photoshop or Illustrator, and then upload the image again. As a long-term solution, adjust your camera settings so that the new images are below the maximum number of pixels. This might include lowering the resolution or changing the aspect ratio.Number of Labeled Images in a Project
The maximum number of labeled images a model can use for training depends on the project type.Number of Images Required for a Project
You must upload and label at least 10 images before training a model. Since every use case is different, there is no recommended number of images for projects. For detailed best practices, go to Curate High-Quality Datasets.Upload Options
LandingLens offers the following methods for uploading images to your project. Click the hyperlink for each method to learn more.Upload Images to a New Project vs. a Project that Already Has Images
If you haven’t uploaded images to a project yet, all of the upload options appear directly on the project page.