> ## Documentation Index
> Fetch the complete documentation index at: https://landinglens.docs.landing.ai/llms.txt
> Use this file to discover all available pages before exploring further.
# Upload Images from a Webcam
export const vp = 'Visual Prompting';
export const smartLabel = 'Smart Labeling';
export const productLL = 'LandingLens';
export const mi = 'Mobile Inference';
export const llsf = 'LandingLens on Snowflake';
export const companyName = 'LandingAI';
*This article applies to these versions of LandingLens:*
LandingLens
LandingLens on Snowflake
✓
✖
You can take photos with your webcam and upload them to a project in LandingLens. To upload photos from your webcam:
1. Open the project you want to upload images to.
2. Open the Upload pop-up window:
* If you haven't uploaded any images to the project yet, click **Use WebCam**.
* If you've already uploaded images, click the **Upload** icon and select **Turn on Webcam**.
3. The first time you upload images from a webcam, your might be prompted to grant LandingLens access to your webcam.
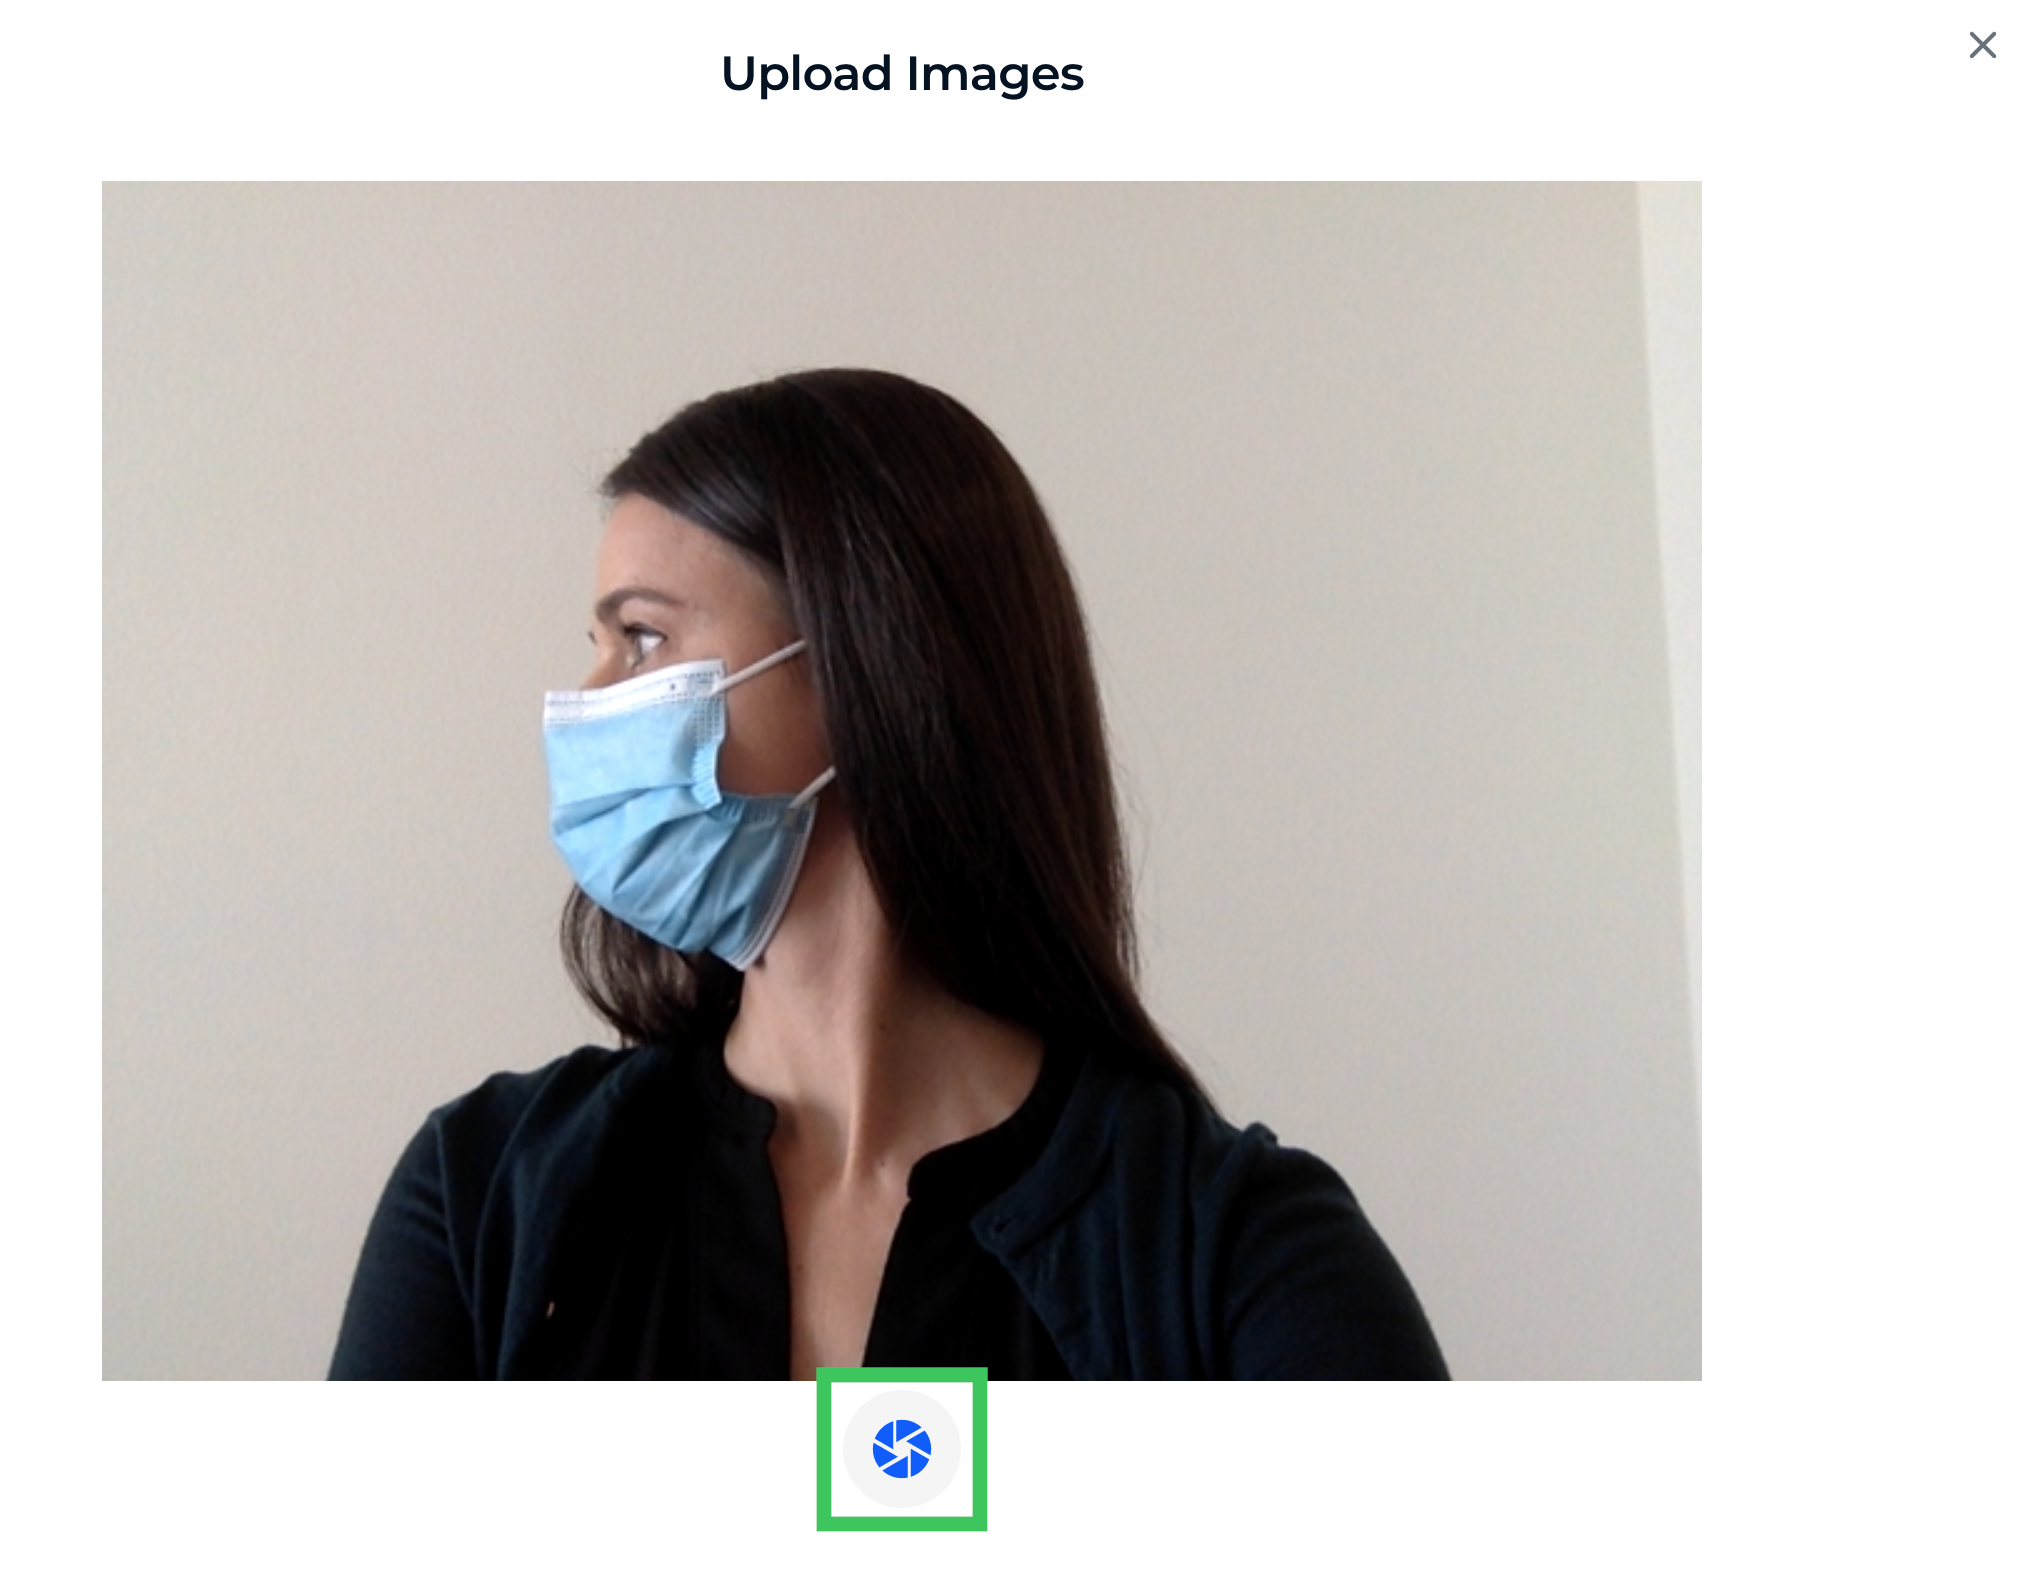
4. Click the **Capture** button each time you want to take a photo with your webcam.
5. (Optional) If you also want to upload images from your computer, click **Turn off Webcam**. You can then [drag and drop images](./drag-and-drop-images) into the project, or [select images from a directory](./upload-images-from-a-directory).
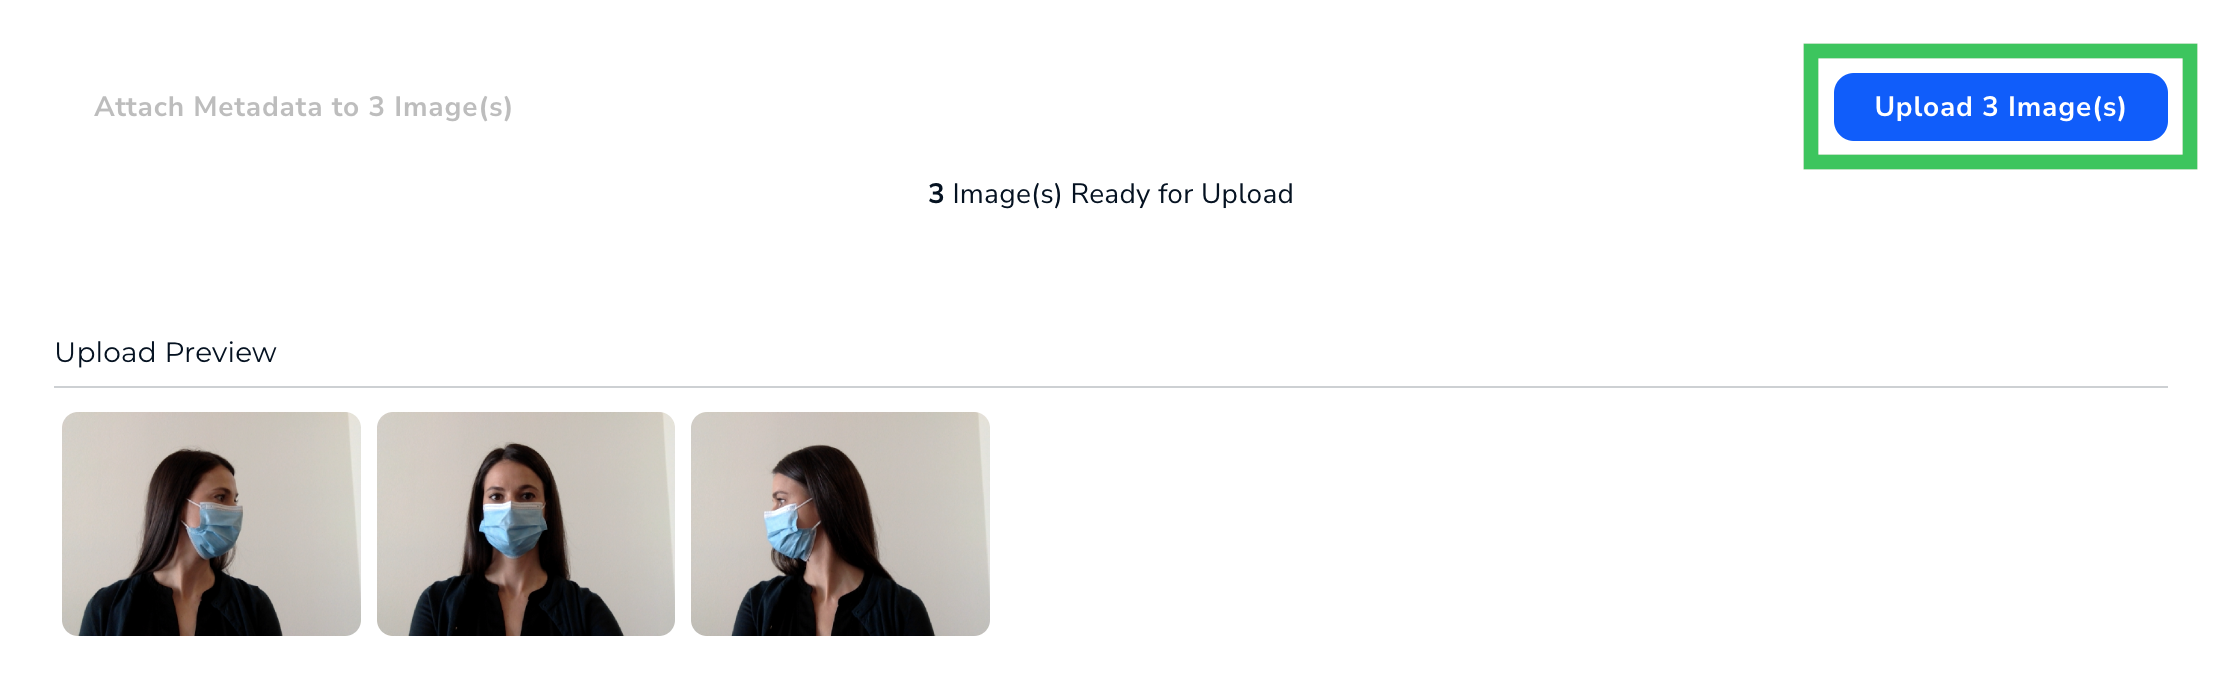
6. A preview of your images displays. To confirm your upload, click the **Upload** button.
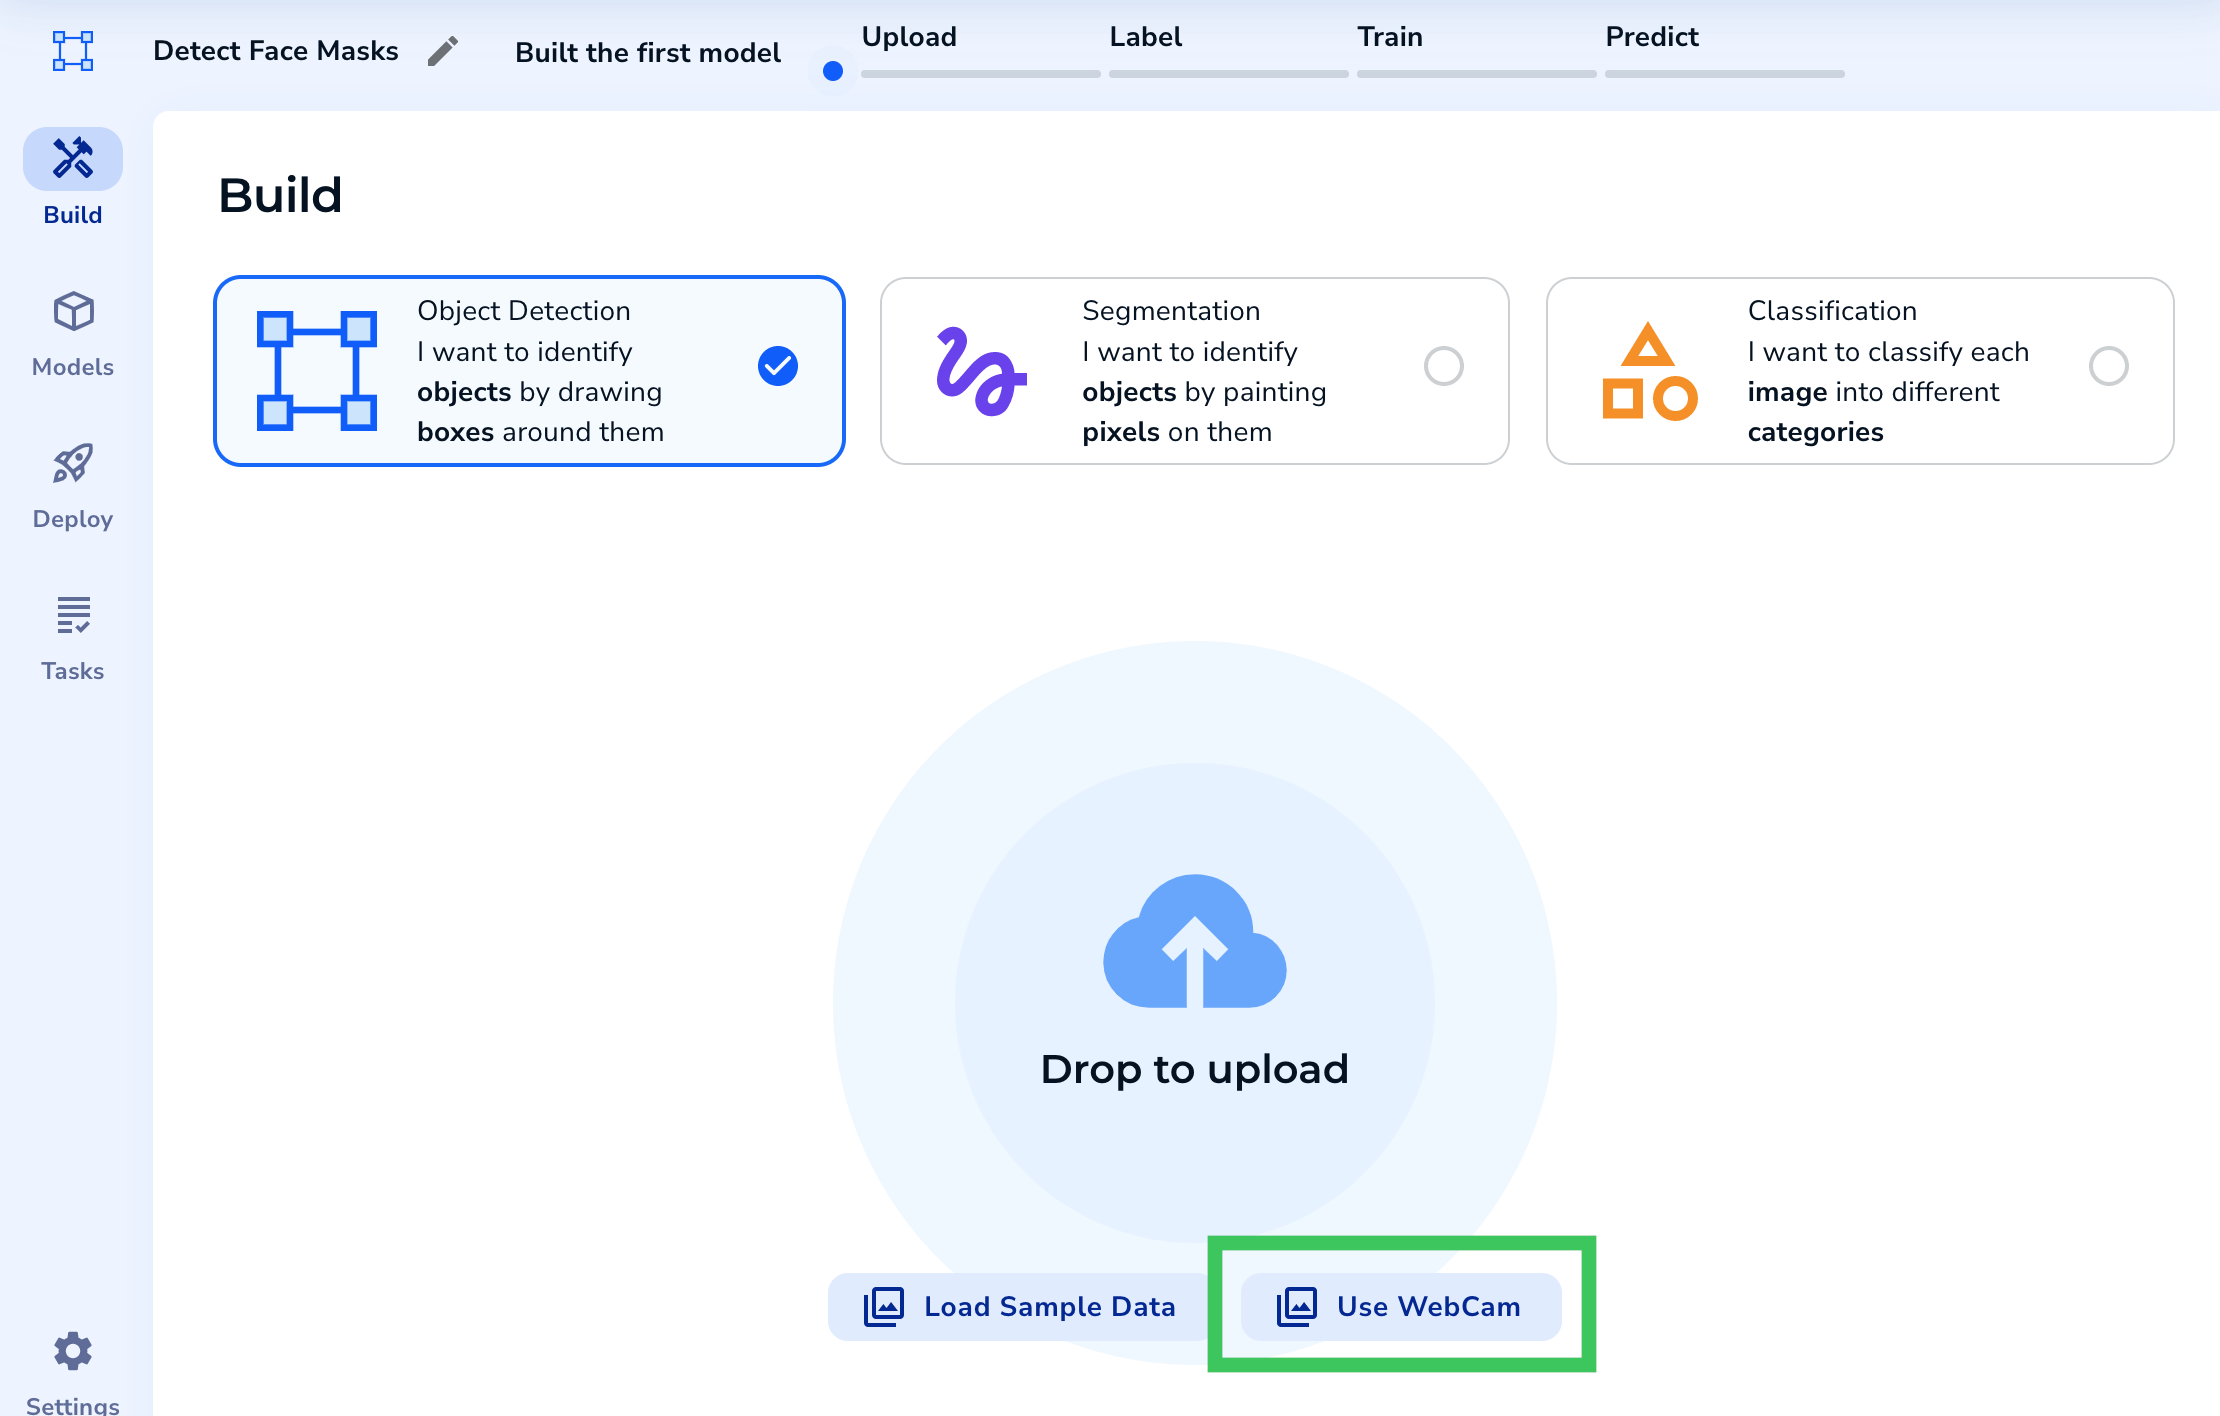 * If you've already uploaded images, click the **Upload** icon and select **Turn on Webcam**.
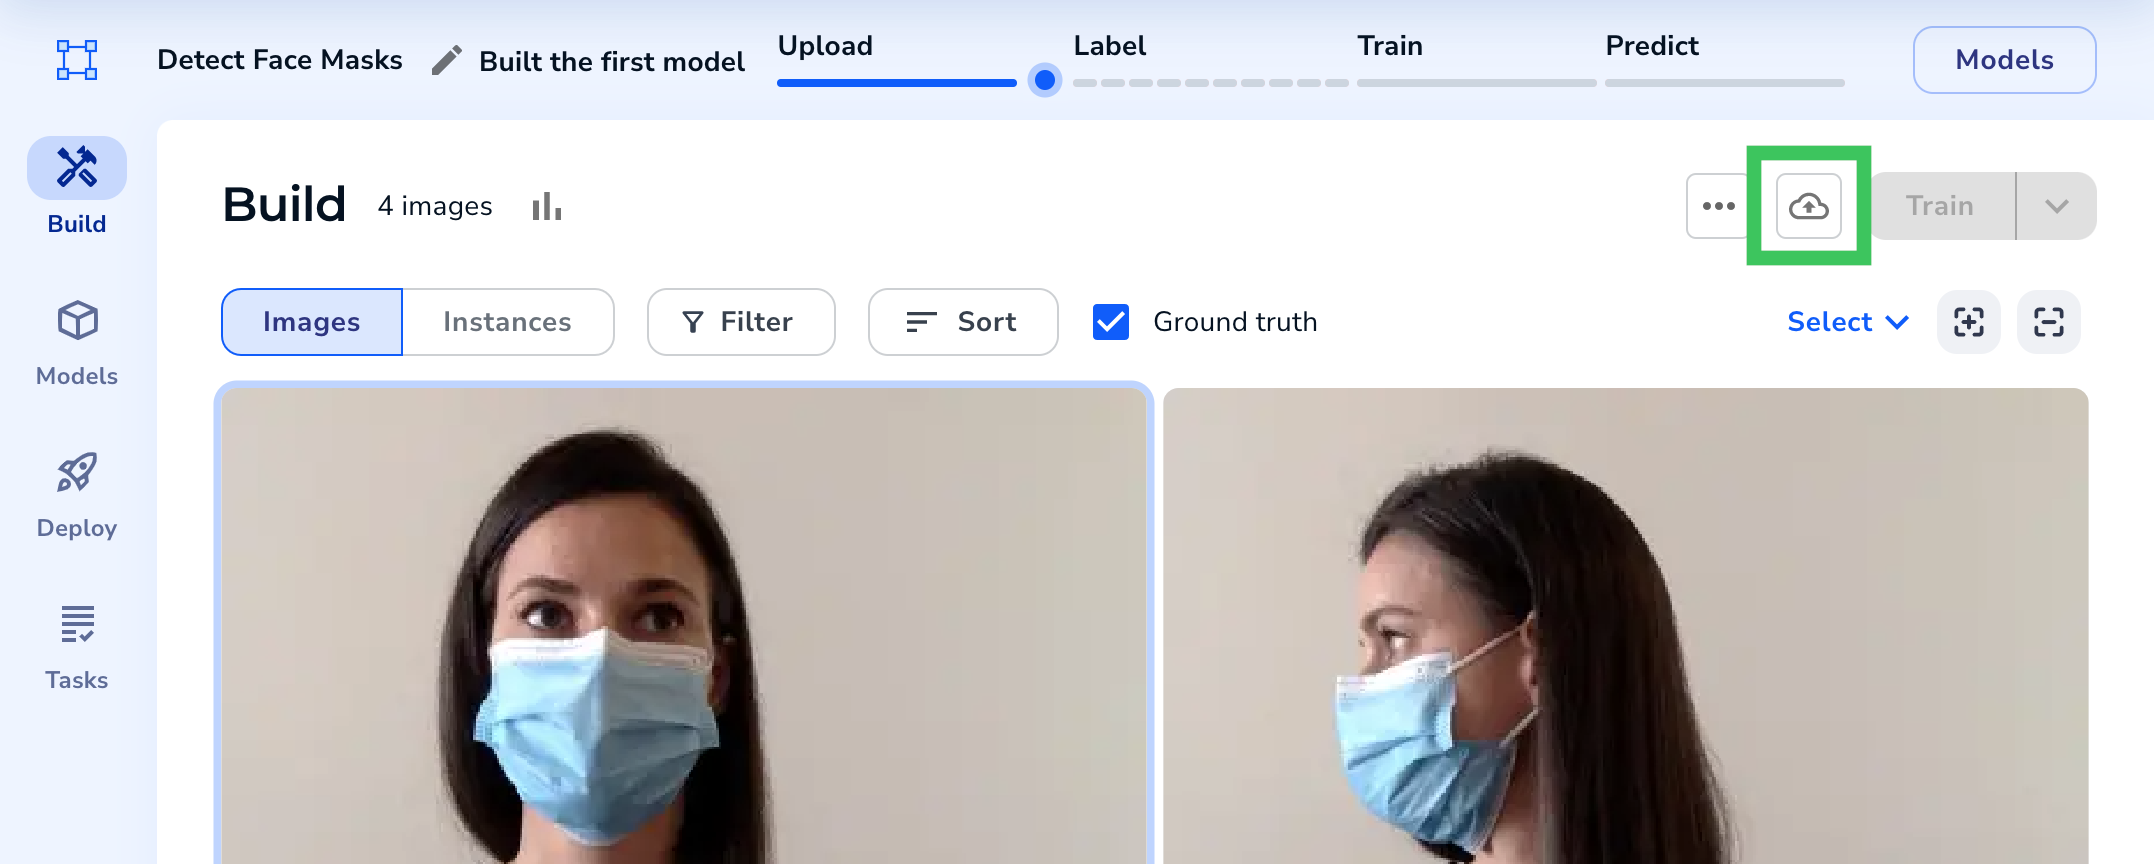 3. The first time you upload images from a webcam, your might be prompted to grant LandingLens access to your webcam.
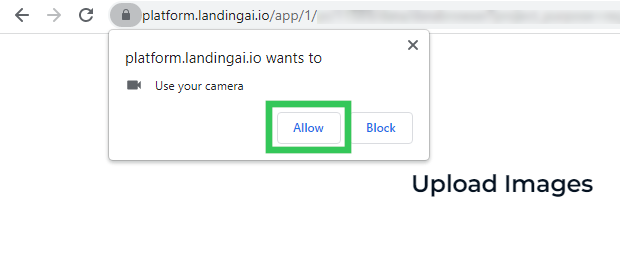 4. Click the **Capture** button each time you want to take a photo with your webcam.
 5. (Optional) If you also want to upload images from your computer, click **Turn off Webcam**. You can then [drag and drop images](./drag-and-drop-images) into the project, or [select images from a directory](./upload-images-from-a-directory).
 6. A preview of your images displays. To confirm your upload, click the **Upload** button.