> ## Documentation Index
> Fetch the complete documentation index at: https://landinglens.docs.landing.ai/llms.txt
> Use this file to discover all available pages before exploring further.
# Use LandingEdge with LandingLens on Snowflake
export const vp = 'Visual Prompting';
export const smartLabel = 'Smart Labeling';
export const productLL = 'LandingLens';
export const mi = 'Mobile Inference';
export const llsf = 'LandingLens on Snowflake';
export const companyName = 'LandingAI';
*This article applies to these versions of LandingLens:*
| LandingLens |
LandingLens on Snowflake |
| ✖ |
✓ |
Users of both LandingLens and {llsf} can use LandingEdge to run inference.
Most of the LandingEdge processes are the same for both LandingLens and {llsf}—you choose an image source, an action that triggers inference, and the LandingLens model that runs inference.
**The only difference occurs if you want to run LandingEdge "online"**. This means that LandingEdge uses an Internet connection to load the model from {llsf}. Running LandingEdge online also allows you to upload inference results back to {llsf}, so that you can save images to your project in a process called Continuous Learning.
If you want to run LandingEdge online with {llsf}, follow the instructions in this article. Otherwise, if you want to run LandingEdge "offline", follow the general instructions in [Manage Inspection Points](./manage-inspection-points).
LandingEdge v2.8.45.0 and later supports {llsf}.
## Considerations for Running LandingEdge Online with {llsf}
If you enable running LandingEdge online with {llsf}, you will *only* be able to use LandingEdge to run models online with {llsf}. You won't be able to run models offline or run models from the LandingAI-hosted version of LandingLens until you disable the connection with {llsf}.
## Set Up an Online Connection with LandingLens on Snowflake
If you want to run LandingEdge online with {llsf}, set up a connection between the two applications using the following instructions:
1. Open LandingEdge.
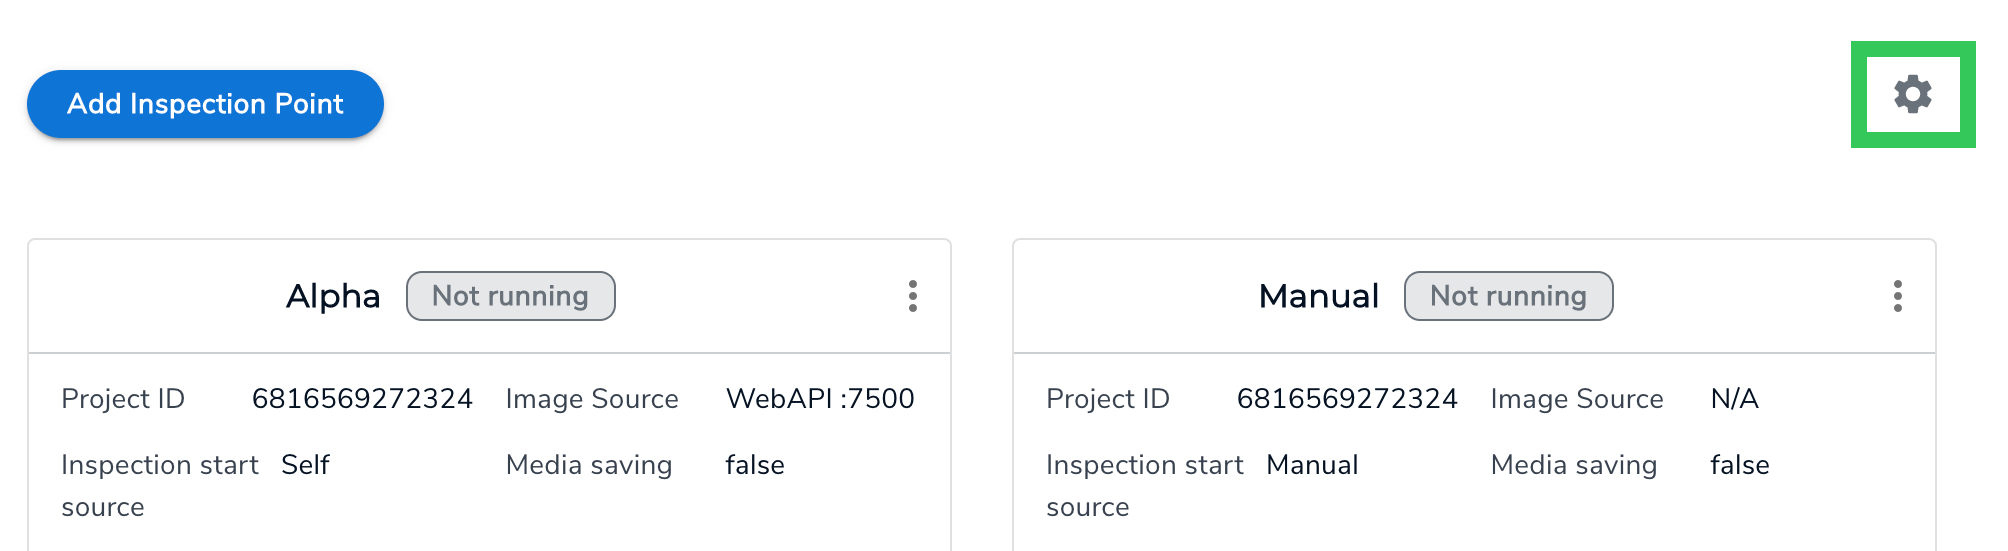
2. Click the **Settings** (gear) icon in the top right corner of the LandingEdge homepage.
 3. Click **Snowflake**.
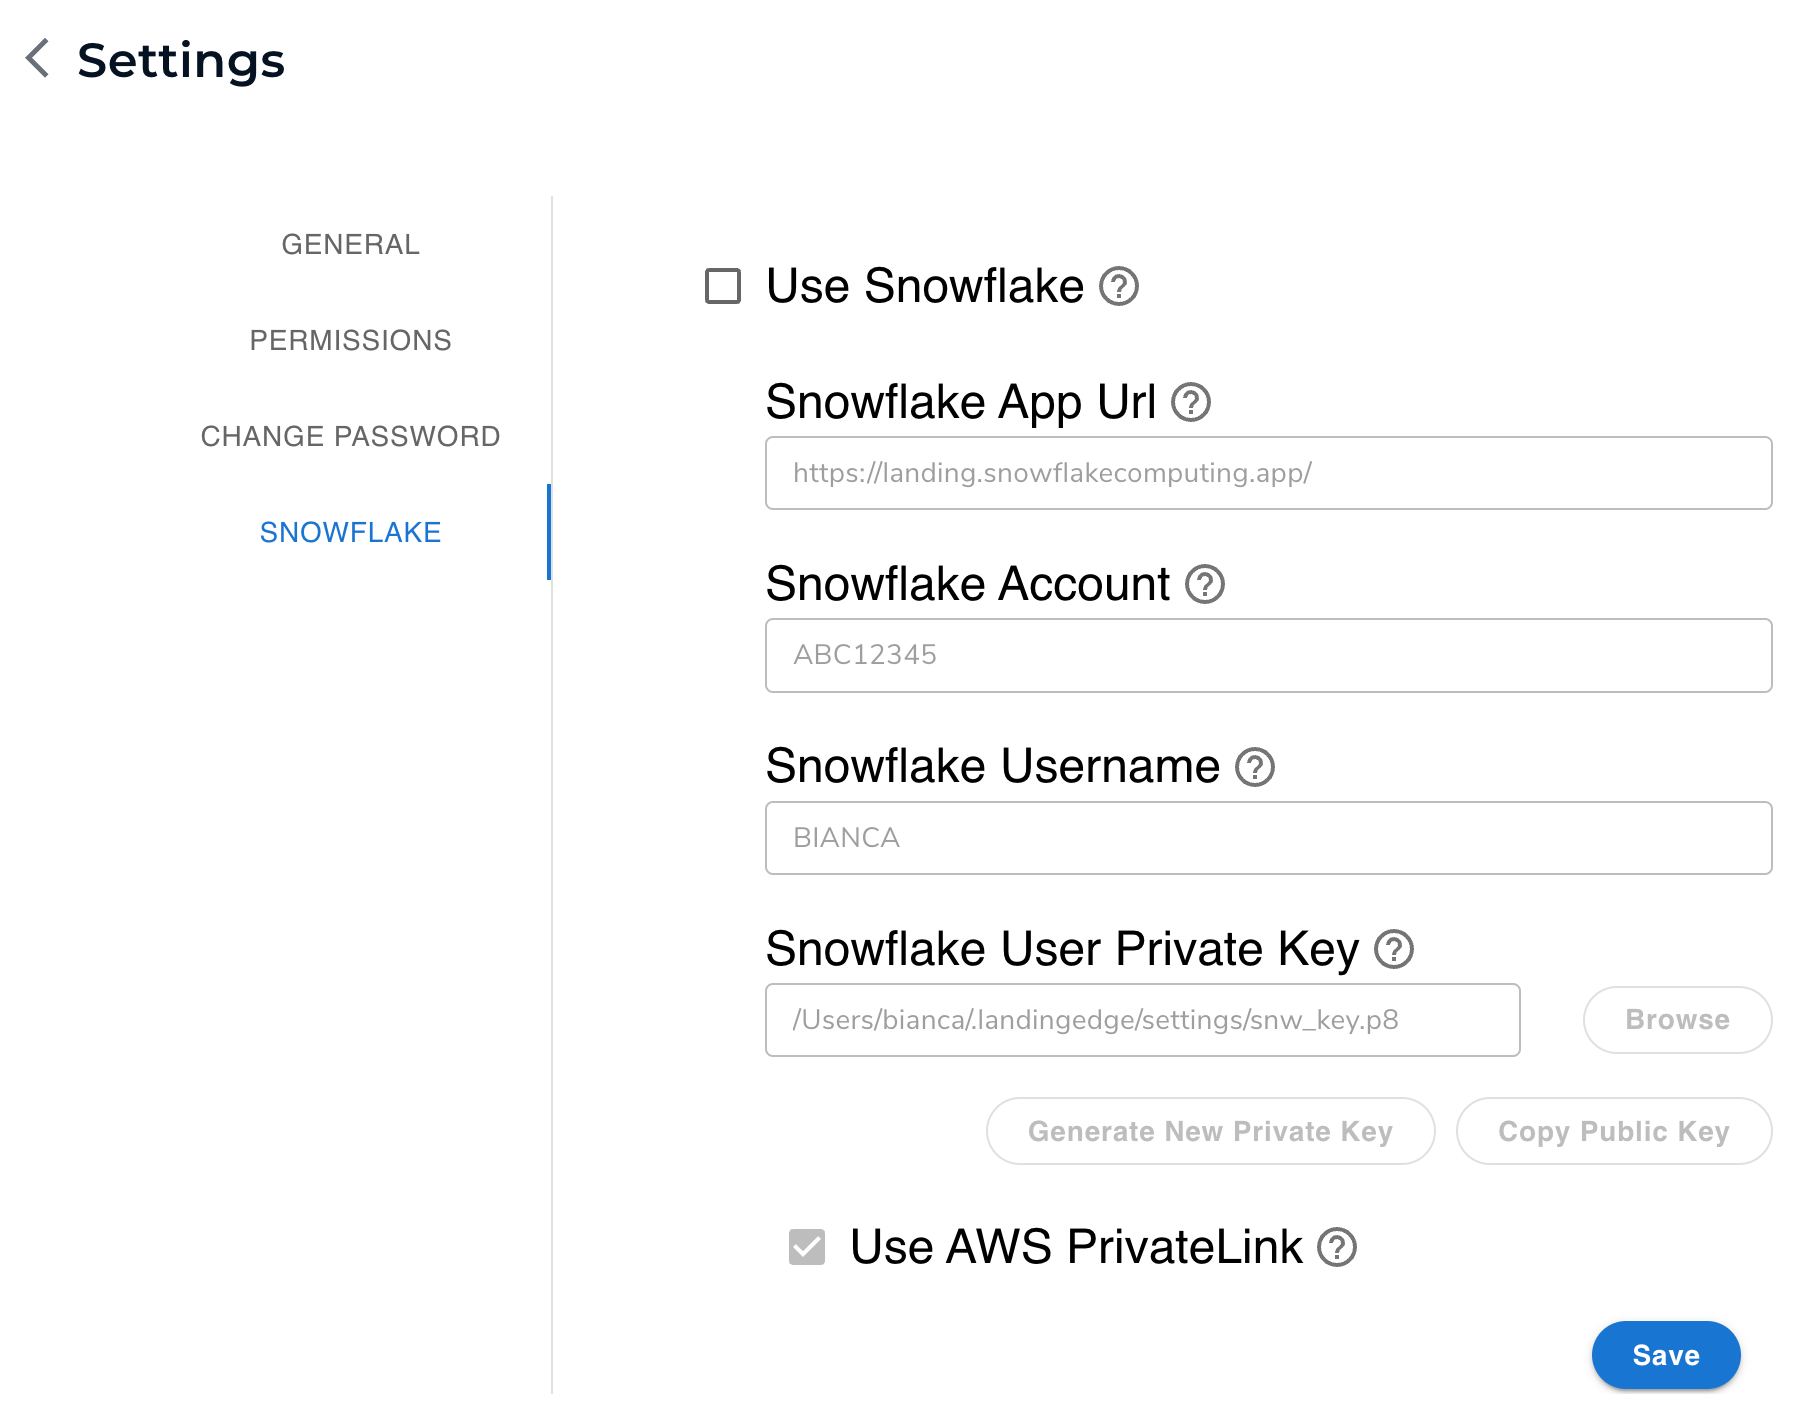
4. Select the **Use Snowflake** checkbox.
5. Fill out the fields:
* **Snowflake App URL**: Enter the fully qualified domain of your instance of {llsf}. For example, the URL could be `https://example.snowflakecomputing.app/`.
* **Snowflake Account**: Enter your Snowflake account [locator](https://docs.snowflake.com/en/user-guide/admin-account-identifier#format-2-account-locator-in-a-region). One way to find your account locator is to open a worksheet in Snowsight and run `SELECT CURRENT_ACCOUNT();`. For more information, go to the [Snowflake documentation](https://docs.snowflake.com/en/sql-reference/functions/current_account).
* **Snowflake Username**: Enter your Snowflake username as it appears in your Snowsight profile. (This is the `NAME` property in Snowflake.)
6. Click **Generate New Private Key**. LandingEdge creates a private key and saves it to your hard drive.
7. Click **Copy Public Key**. (You will later assign the public key to yourself in Snowflake.)
8. If you're using AWS PrivateLink or your Snowflake account locator has underscores, select the **Use AWS PrivateLink** checkbox.
9. Click **Save**.
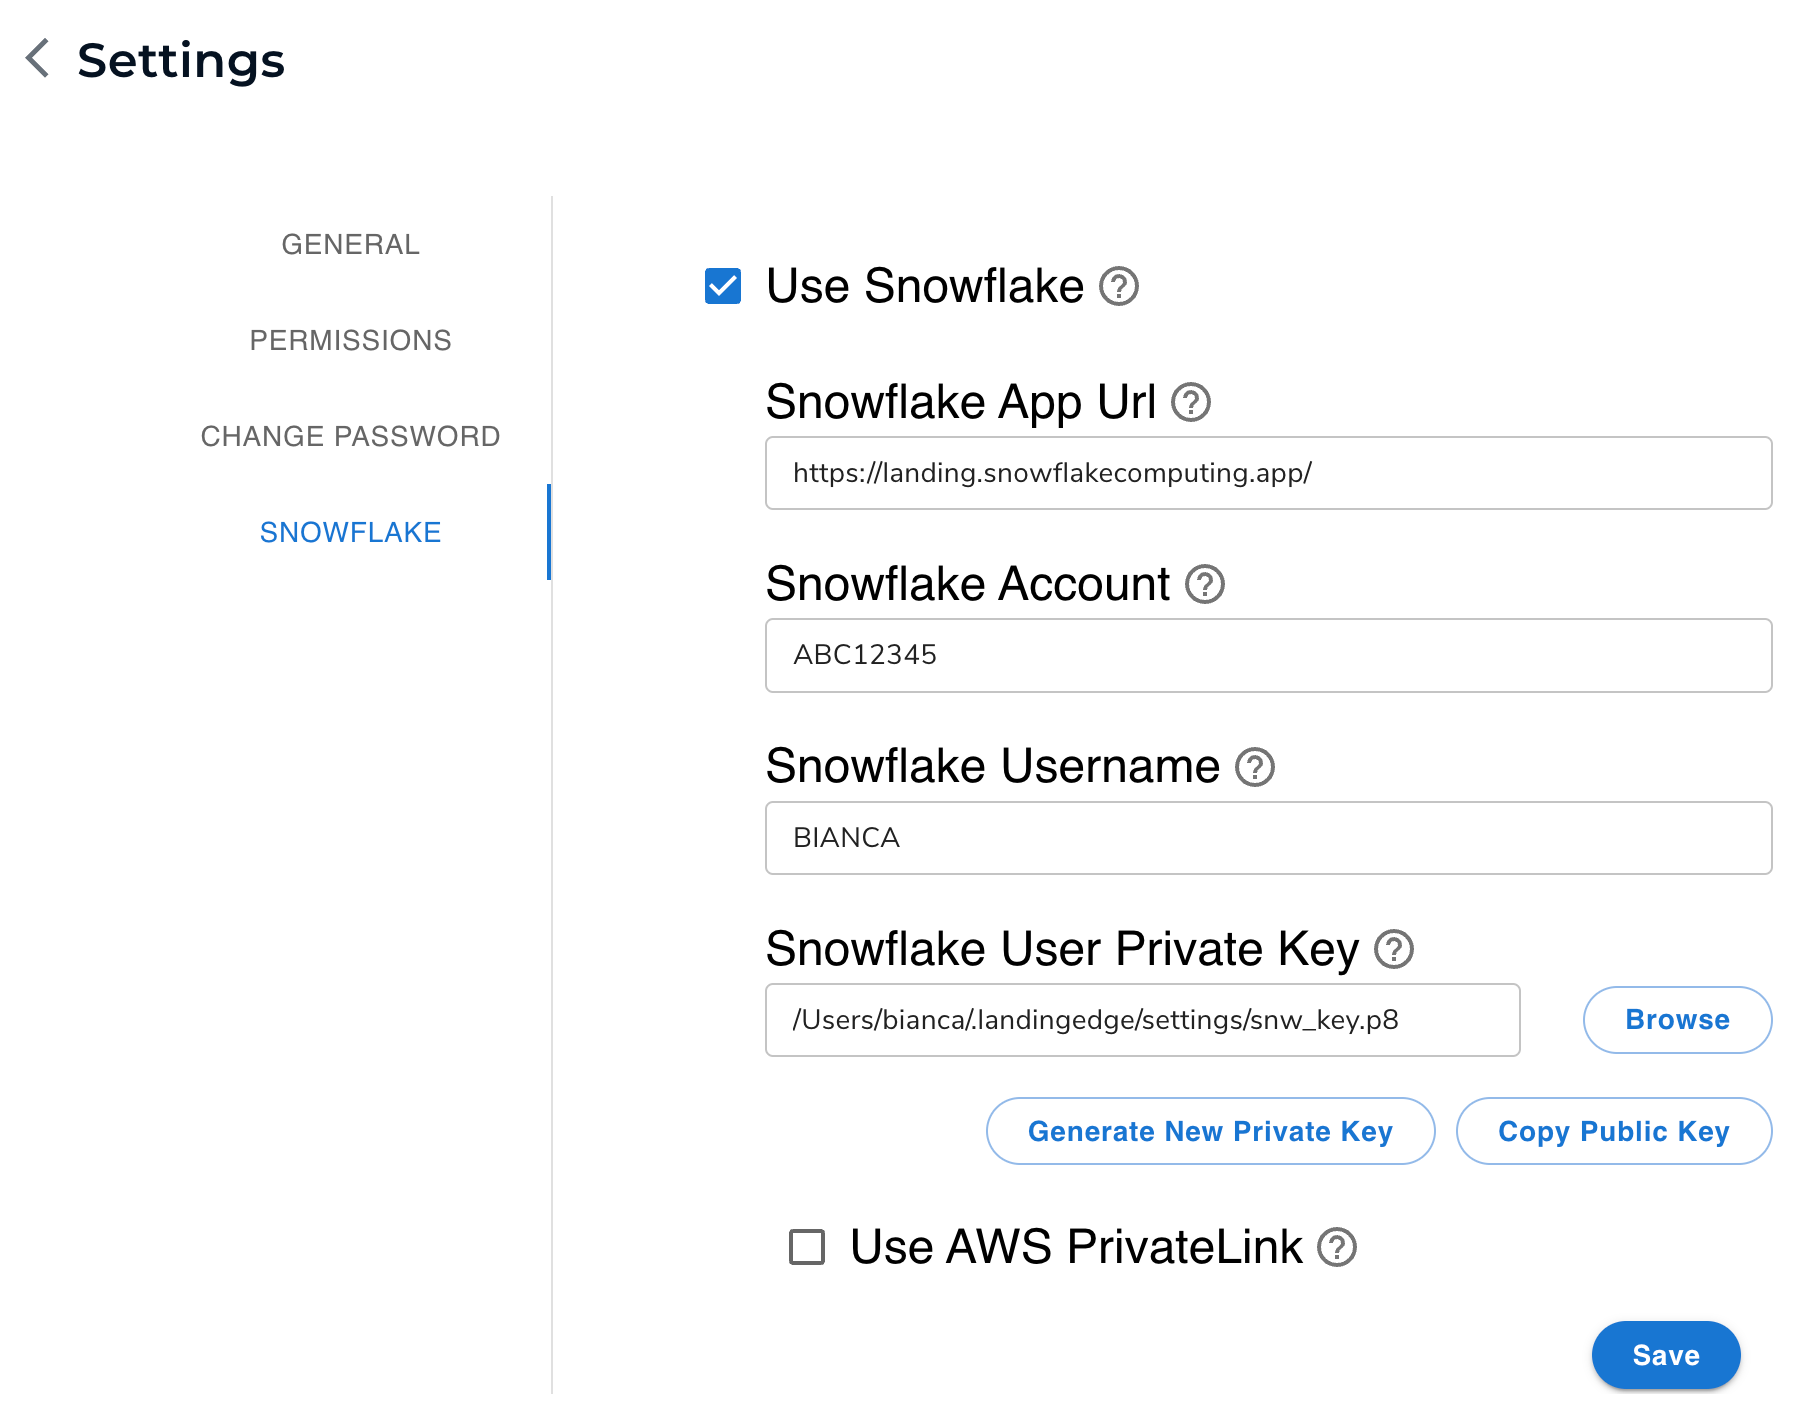
3. Click **Snowflake**.
4. Select the **Use Snowflake** checkbox.
5. Fill out the fields:
* **Snowflake App URL**: Enter the fully qualified domain of your instance of {llsf}. For example, the URL could be `https://example.snowflakecomputing.app/`.
* **Snowflake Account**: Enter your Snowflake account [locator](https://docs.snowflake.com/en/user-guide/admin-account-identifier#format-2-account-locator-in-a-region). One way to find your account locator is to open a worksheet in Snowsight and run `SELECT CURRENT_ACCOUNT();`. For more information, go to the [Snowflake documentation](https://docs.snowflake.com/en/sql-reference/functions/current_account).
* **Snowflake Username**: Enter your Snowflake username as it appears in your Snowsight profile. (This is the `NAME` property in Snowflake.)
6. Click **Generate New Private Key**. LandingEdge creates a private key and saves it to your hard drive.
7. Click **Copy Public Key**. (You will later assign the public key to yourself in Snowflake.)
8. If you're using AWS PrivateLink or your Snowflake account locator has underscores, select the **Use AWS PrivateLink** checkbox.
9. Click **Save**.
 10. Assign the public key to yourself in Snowflake. To learn how to do this, go to the [Snowflake documentation](https://docs.snowflake.com/en/user-guide/key-pair-auth#assign-the-public-key-to-a-snowflake-user).
11. To verify that LandingEdge successfully connected to {llsf}, set up an inspection point. If your projects display in the **Project Connected to** drop-down menu, the connection works. If you don't see any projects, check if all Snowflake account information was entered correctly.
10. Assign the public key to yourself in Snowflake. To learn how to do this, go to the [Snowflake documentation](https://docs.snowflake.com/en/user-guide/key-pair-auth#assign-the-public-key-to-a-snowflake-user).
11. To verify that LandingEdge successfully connected to {llsf}, set up an inspection point. If your projects display in the **Project Connected to** drop-down menu, the connection works. If you don't see any projects, check if all Snowflake account information was entered correctly.
.png?fit=max&auto=format&n=nULG3l07sGmu7vxy&q=85&s=e450f03a6125cc1201b4934392acc8e3) ## Set Up an "Online" Inspection Point
After you've set up the [Snowflake settings](./landingedge-snowflake#set-up-an-online-connection-with-landinglens-on-snowflake) in LandingEdge, you can set up Inspection Points, which are the sets of information needed to deploy models in LandingEdge. For the most part, you can follow the instructions in [Manage Inspection Points](./manage-inspection-points) to set up an Inspection Point. The only difference is how you fill out the **Cloud Connection** and **Model** settings:
1. Select your project from the **Project Connected to** drop-down menu.
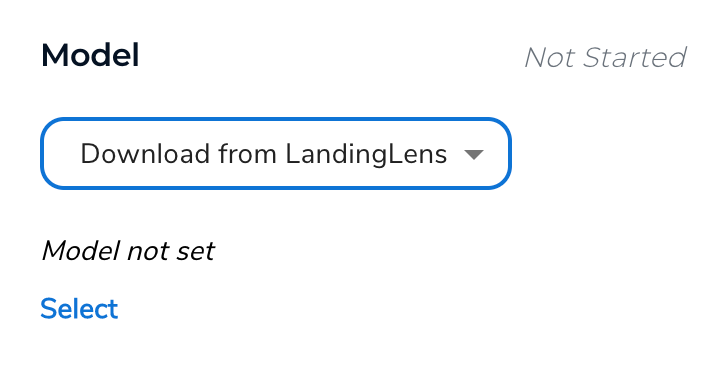
2. Select **Download from LandingLens**.
3. Click **Select**.
## Set Up an "Online" Inspection Point
After you've set up the [Snowflake settings](./landingedge-snowflake#set-up-an-online-connection-with-landinglens-on-snowflake) in LandingEdge, you can set up Inspection Points, which are the sets of information needed to deploy models in LandingEdge. For the most part, you can follow the instructions in [Manage Inspection Points](./manage-inspection-points) to set up an Inspection Point. The only difference is how you fill out the **Cloud Connection** and **Model** settings:
1. Select your project from the **Project Connected to** drop-down menu.
2. Select **Download from LandingLens**.
3. Click **Select**.
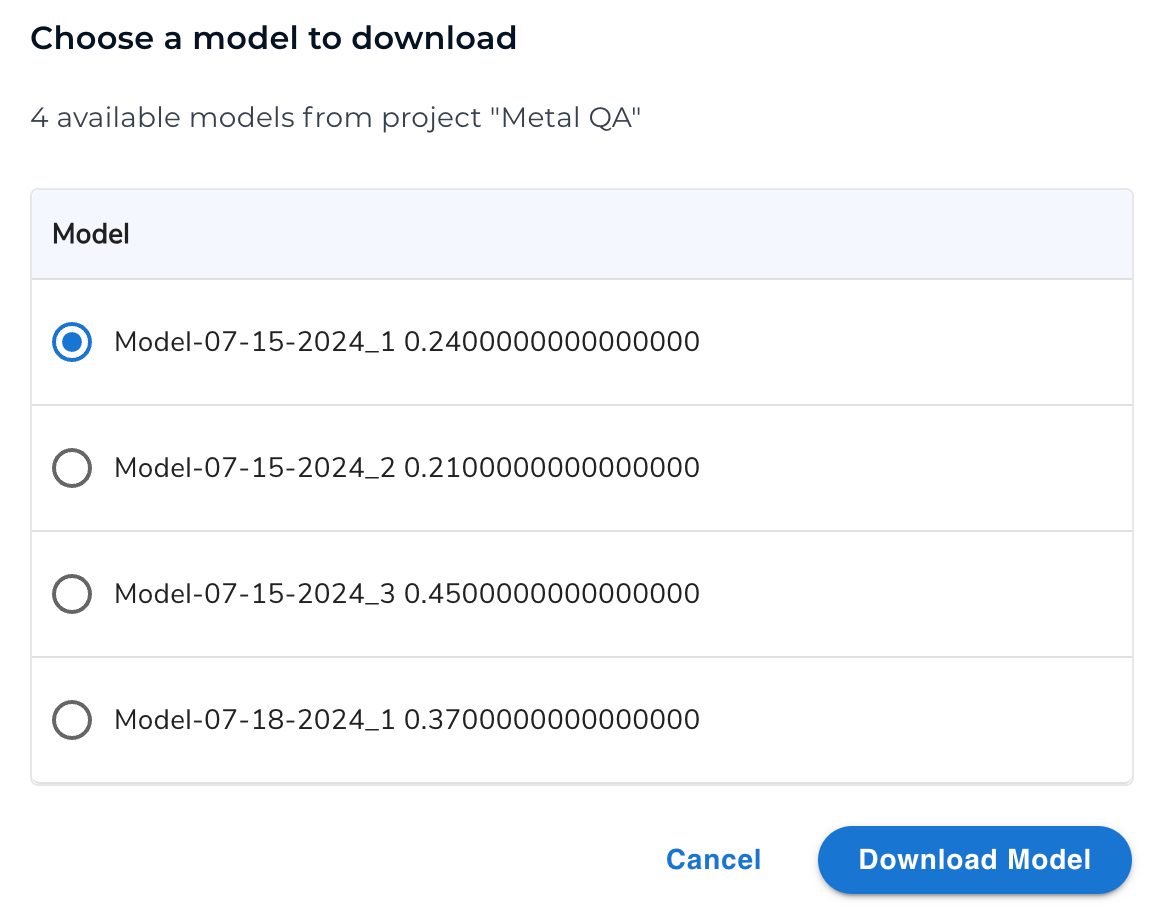
 4. Select the model you want to use and click **Download Model**.
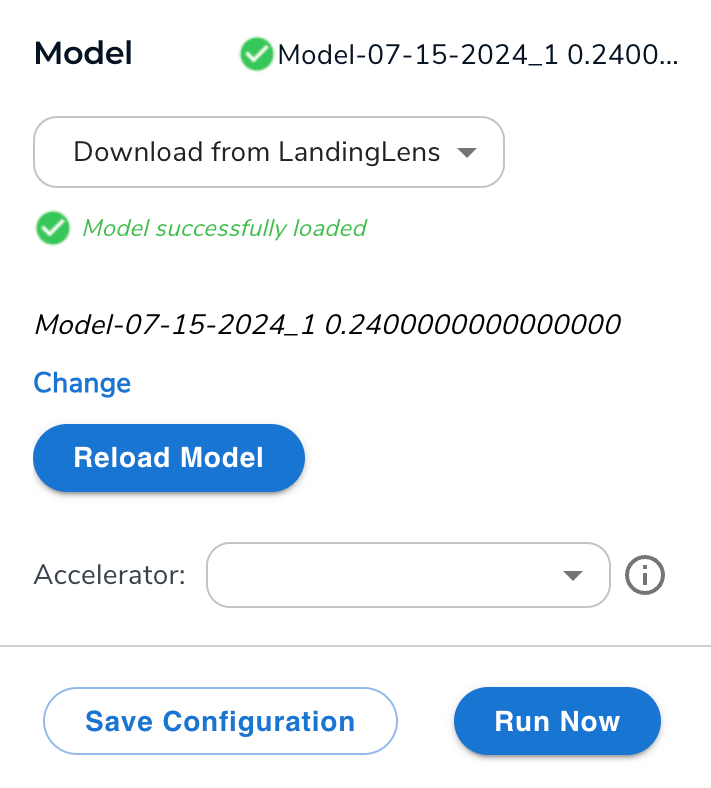
 5. LandingEdge loads the model. When this is complete, the **Model successfully loaded message** displays and the **Run Now** button becomes active.
 6. Continue setting up the Inspection Point.
## Disable the Online Connection with {llsf}
If you no longer want LandingEdge to be connected to {llsf}, deselect the **Use Snowflake** checkbox on LandingEdge's Snowflake settings page. This disconnects all Inspection Points that were connected to {llsf}.
6. Continue setting up the Inspection Point.
## Disable the Online Connection with {llsf}
If you no longer want LandingEdge to be connected to {llsf}, deselect the **Use Snowflake** checkbox on LandingEdge's Snowflake settings page. This disconnects all Inspection Points that were connected to {llsf}.