> ## Documentation Index
> Fetch the complete documentation index at: https://landinglens.docs.landing.ai/llms.txt
> Use this file to discover all available pages before exploring further.
# Run Inference with Web APIs
export const vp = 'Visual Prompting';
export const smartLabel = 'Smart Labeling';
export const productLL = 'LandingLens';
export const mi = 'Mobile Inference';
export const llsf = 'LandingLens on Snowflake';
export const companyName = 'LandingAI';
*This article applies to these versions of LandingLens:*
| LandingLens |
LandingLens on Snowflake |
| ✓ |
✓ |
There are several ways to send images for inference in LandingEdge. This section explains how to use web APIs to upload images to your model for inference.
With this method, you upload and receive results programmatically. Therefore, this method requires proficiency with a modern programming language. We’ve provided Python examples in this article.
## Set Up Inspection Points for Images Sent via API
You can set up multiple *configurations* for each Inspection Point.
To set up Inspection Points to run inference on images sent via API, follow the instructions below:
1. Create an Inspection Point.
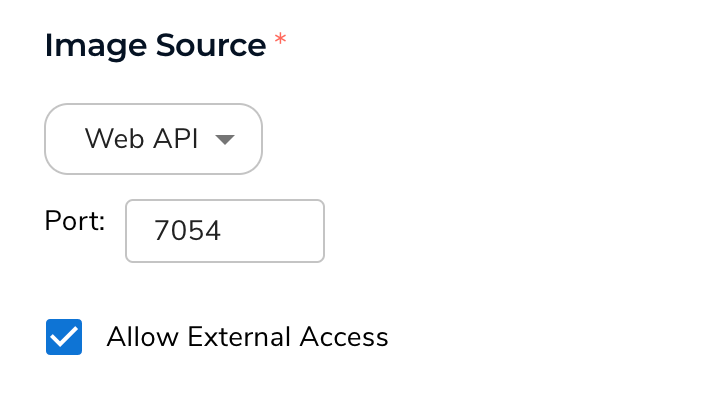
2. Select **Web API** from the **Image Source** drop-down menu.
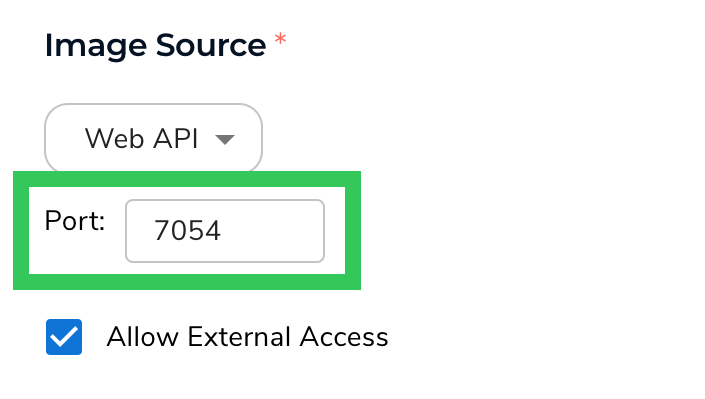
3. Enter the port that you will use to send images to LandingEdge in the **Port** field.LandingEdge will monitor this port to receive images from your API call. The supported port number range is 7000 to 8000. If setting up multiple Inspection Points, use a different port for each Inspection Point.
4. If you want other devices (different IP addresses) on your network to be able to send images to the web API endpoint, select the **Allow External Access** checkbox.
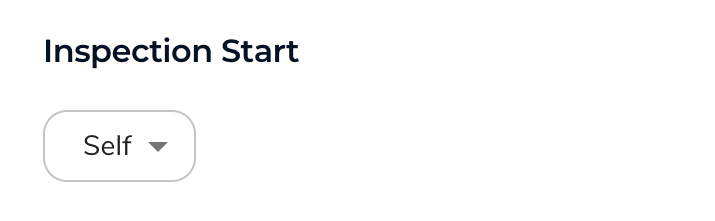
 5. Verify that **Self** is selected from the **Inspection Start** drop-down menu. This option means that sending an image via web API will trigger the inspection process to start. (This is the only option when using the web API method.)
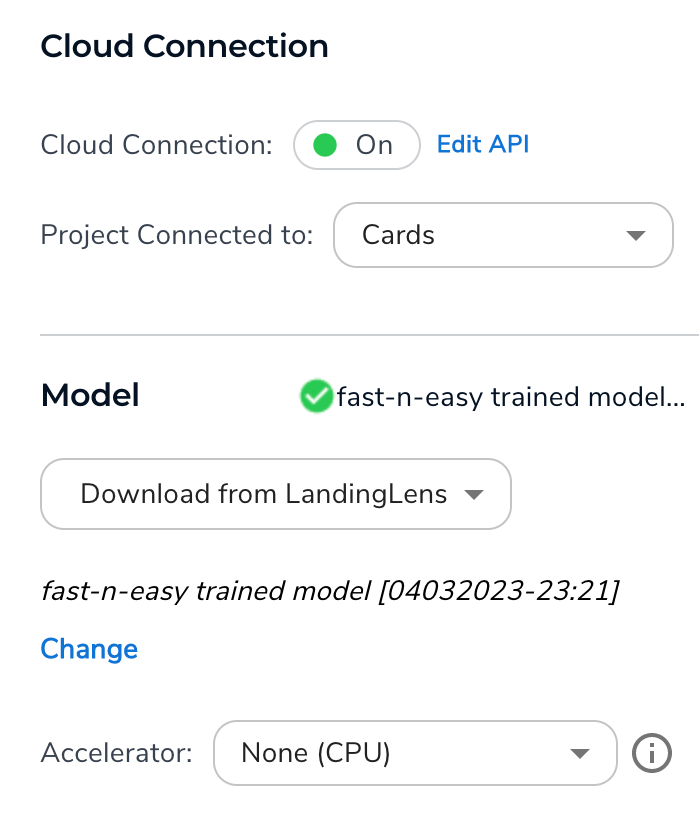
 6. Set up the [Cloud Connection and Model](./manage-inspection-points#cloud-connection-and-model-connect-to-a-landinglens-model)settings.
 7. Skip the **Communication** section.
8. (Optional) Set up [Image Saving](./manage-inspection-points#image-saving) settings.
9. (Optional) Set up [Other Settings](./manage-inspection-points#other-settings) settings.
10. (Optional) Set up [Custom Processing](./custom-processing).
## Web API Documentation
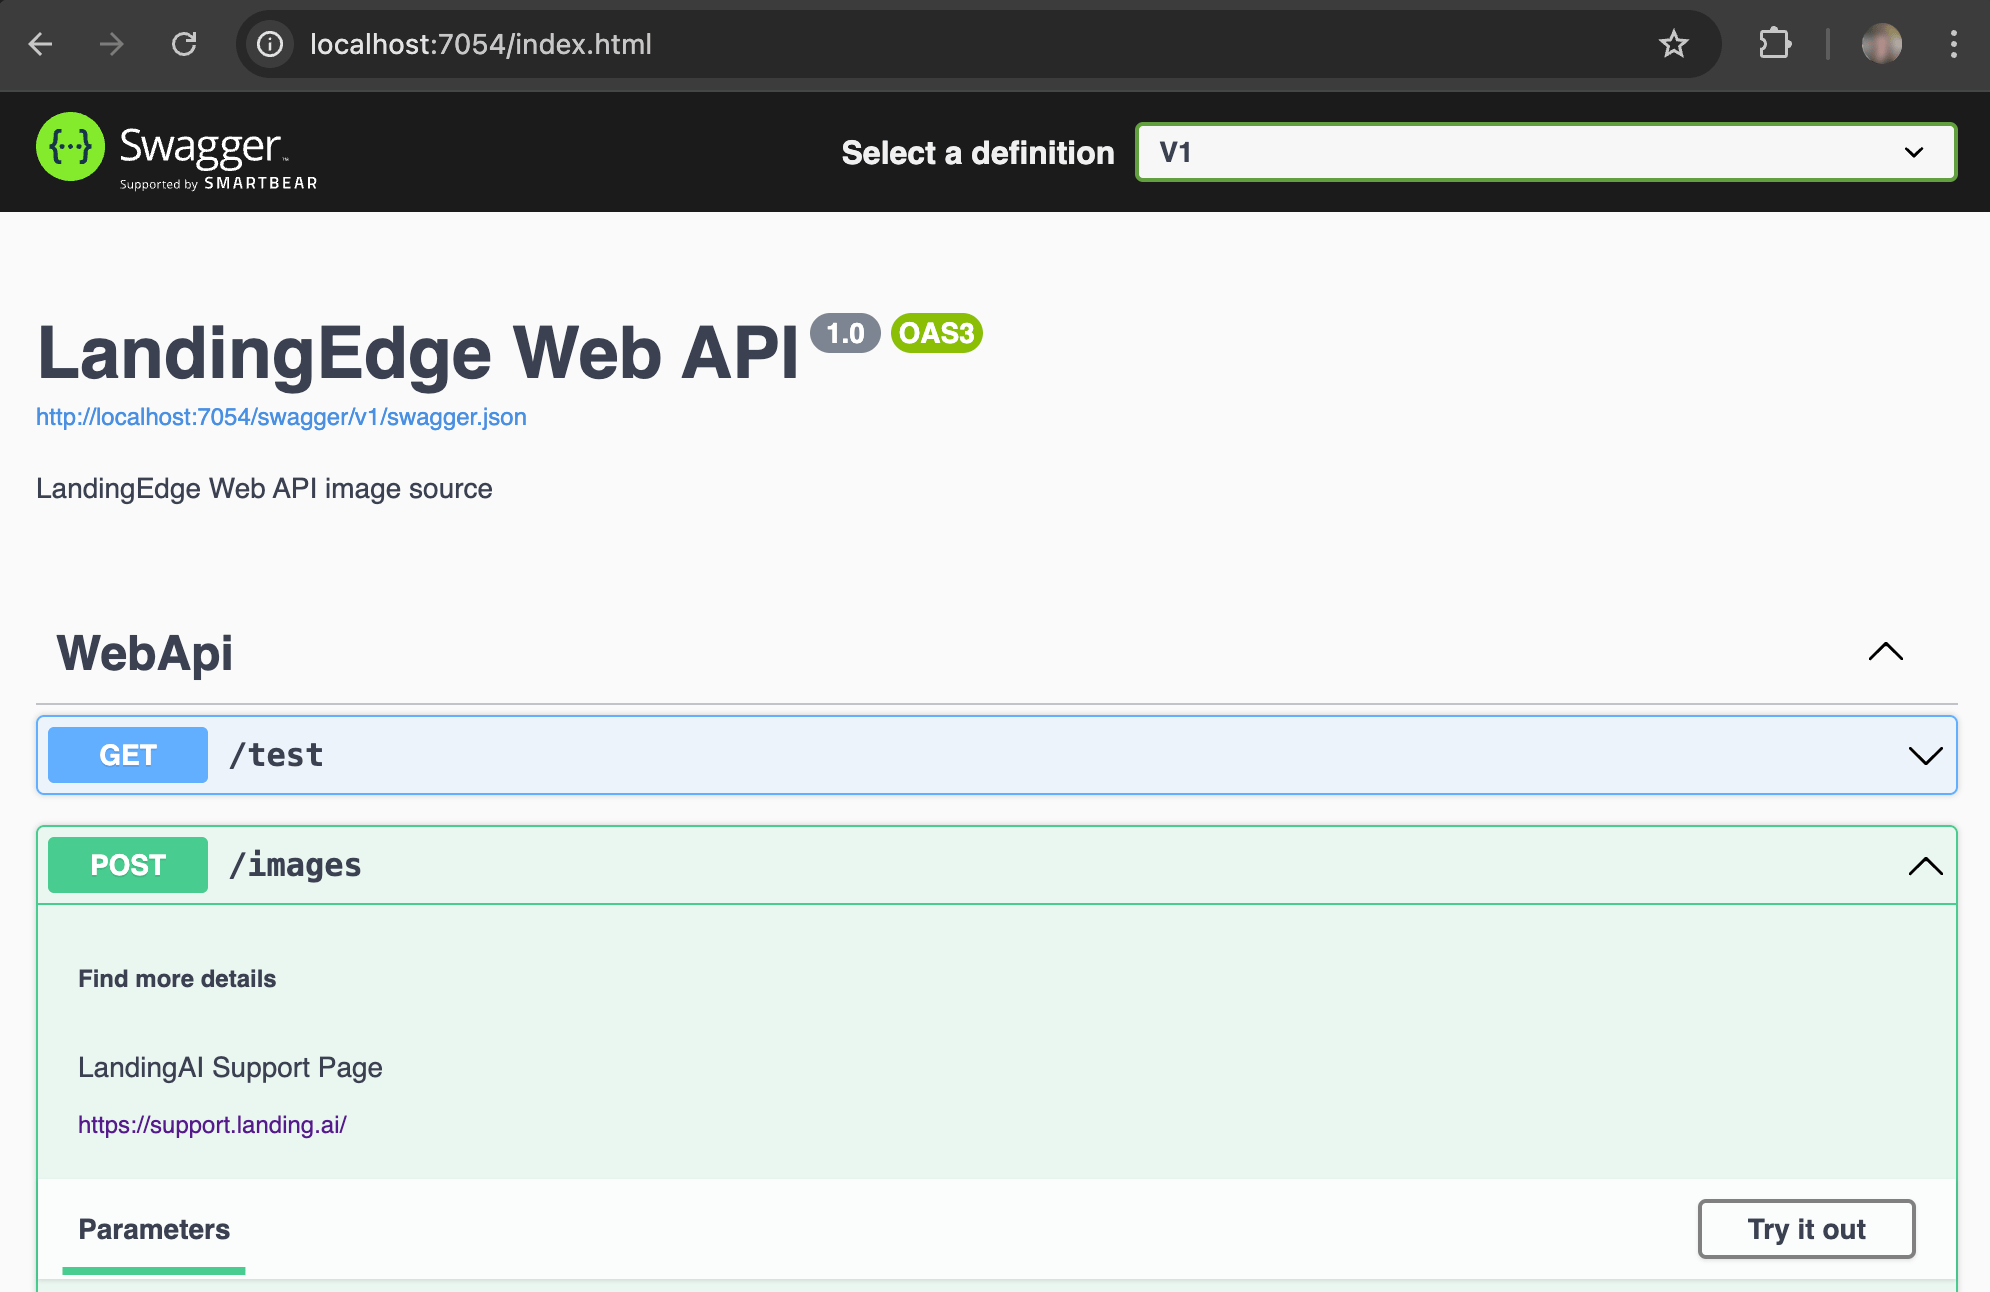
To access the LandingEdge web APIs in Swagger, first ensure that the Inspection Point is running. Then go to `http://localhost:[port]/docs`, where `[port]` is the number you entered in the **Port** field when setting up the Inspection Point. For example, if you entered 7054 as your port number, then you would go to `http://localhost:7054/docs`.
7. Skip the **Communication** section.
8. (Optional) Set up [Image Saving](./manage-inspection-points#image-saving) settings.
9. (Optional) Set up [Other Settings](./manage-inspection-points#other-settings) settings.
10. (Optional) Set up [Custom Processing](./custom-processing).
## Web API Documentation
To access the LandingEdge web APIs in Swagger, first ensure that the Inspection Point is running. Then go to `http://localhost:[port]/docs`, where `[port]` is the number you entered in the **Port** field when setting up the Inspection Point. For example, if you entered 7054 as your port number, then you would go to `http://localhost:7054/docs`.
 ## Web API Endpoints
The Web API provides the following possible endpoints you can use. All endpoints return the predictions as JSON.
* /images
* /RGB24mmf
### Example: /Images Endpoint
The following script shows how to use the `/images` endpoint to run inference on images that are already on your device.
```python theme={null}
import json
from mimetypes import guess_type
from pathlib import Path
from typing import Any, Union
import requests
def infer(filename: Union[Path, str], port: int) -> Any:
"""
Run inference on an image using the /images endpoint
:param filename: path to the image file
:param port: port number from LandingEdge Web API configuration
:return: object representing the inference results
"""
# LandingEdge app url construction
app_url = f"http://127.0.0.1:{port}/images"
# Send the request
with open(Path(filename).resolve(), "rb") as f:
files = [("file", (Path(filename).name, f, guess_type(filename)))]
response = requests.post(
app_url,
files=files)
return json.loads(response.text)
```
### Example: /RGB24mmf Endpoint
The /RGB24mmf endpoint is only available on Windows.
When you use the **/RGB24mmf** endpoint, the API uses a local memory-mapped file (MMF) to transfer images, which is faster than sending a copy of the image.
The RGB24mmf API requires images to be on the same system that you are calling APIs from. If the images are on a separate system, you cannot call this API (even if the **Allow External Access** setting is enabled). Use this API if your images are already in the device's memory.
The following script shows how to use the `/RGB24mmf` endpoint to run inference on images stored in your device's memory.
```python theme={null}
import json
import mmap
import uuid
from typing import Any
import requests
from nptyping import ndarray
def infer(image: ndarray, port: int) -> Any:
"""
Run inference on an image using the /RGB24mmf endpoint
:param image: numpy array representing the image. Must be RGB ordering
:param port: port number from LandingEdge Web API configuration
:return: object representing the inference results
"""
# LandingEdge app url construction
windows_app_url = f"http://127.0.0.1:{port}/RGB24mmf"
# retrieve information about the image
height, width, _ = image.shape
# Send the request
tag_name = str(uuid.uuid4())
with mmap.mmap(-1, height * width * 3, tagname=tag_name) as mm:
mm.write(image.tobytes())
response = requests.post(
windows_app_url,
files={
"mmf": (None, tag_name),
"height": (None, height),
"width": (None, width),
},
)
return json.loads(response.text)
```
## Example: Use the LandingLens Python Library
The following script shows how to use the LandingLens Python library to run inference on images already on your device. For more information, see the [LandingLens Python library](https://github.com/landing-ai/landingai-python).
```python theme={null}
from landingai.predict import EdgePredictor
import PIL.Image
predictor = EdgePredictor(host="127.0.0.1", port=8000)
img = PIL.Image.open("/Users/Username/Downloads/test.png")
predictions = predictor.predict(img)
```
## Example: cURL Request Example
The following code snippet shows how you can use the web APIs to send the image for inference from the command line using a cURL command.
```bash theme={null}
curl -X 'POST' \
'http://localhost:/images' \
-H 'accept: application/json' \
-H 'Content-Type: multipart/form-data' \
-F 'file=@sample.jpg;type=image/jpeg'
```
## Web API Endpoints
The Web API provides the following possible endpoints you can use. All endpoints return the predictions as JSON.
* /images
* /RGB24mmf
### Example: /Images Endpoint
The following script shows how to use the `/images` endpoint to run inference on images that are already on your device.
```python theme={null}
import json
from mimetypes import guess_type
from pathlib import Path
from typing import Any, Union
import requests
def infer(filename: Union[Path, str], port: int) -> Any:
"""
Run inference on an image using the /images endpoint
:param filename: path to the image file
:param port: port number from LandingEdge Web API configuration
:return: object representing the inference results
"""
# LandingEdge app url construction
app_url = f"http://127.0.0.1:{port}/images"
# Send the request
with open(Path(filename).resolve(), "rb") as f:
files = [("file", (Path(filename).name, f, guess_type(filename)))]
response = requests.post(
app_url,
files=files)
return json.loads(response.text)
```
### Example: /RGB24mmf Endpoint
The /RGB24mmf endpoint is only available on Windows.
When you use the **/RGB24mmf** endpoint, the API uses a local memory-mapped file (MMF) to transfer images, which is faster than sending a copy of the image.
The RGB24mmf API requires images to be on the same system that you are calling APIs from. If the images are on a separate system, you cannot call this API (even if the **Allow External Access** setting is enabled). Use this API if your images are already in the device's memory.
The following script shows how to use the `/RGB24mmf` endpoint to run inference on images stored in your device's memory.
```python theme={null}
import json
import mmap
import uuid
from typing import Any
import requests
from nptyping import ndarray
def infer(image: ndarray, port: int) -> Any:
"""
Run inference on an image using the /RGB24mmf endpoint
:param image: numpy array representing the image. Must be RGB ordering
:param port: port number from LandingEdge Web API configuration
:return: object representing the inference results
"""
# LandingEdge app url construction
windows_app_url = f"http://127.0.0.1:{port}/RGB24mmf"
# retrieve information about the image
height, width, _ = image.shape
# Send the request
tag_name = str(uuid.uuid4())
with mmap.mmap(-1, height * width * 3, tagname=tag_name) as mm:
mm.write(image.tobytes())
response = requests.post(
windows_app_url,
files={
"mmf": (None, tag_name),
"height": (None, height),
"width": (None, width),
},
)
return json.loads(response.text)
```
## Example: Use the LandingLens Python Library
The following script shows how to use the LandingLens Python library to run inference on images already on your device. For more information, see the [LandingLens Python library](https://github.com/landing-ai/landingai-python).
```python theme={null}
from landingai.predict import EdgePredictor
import PIL.Image
predictor = EdgePredictor(host="127.0.0.1", port=8000)
img = PIL.Image.open("/Users/Username/Downloads/test.png")
predictions = predictor.predict(img)
```
## Example: cURL Request Example
The following code snippet shows how you can use the web APIs to send the image for inference from the command line using a cURL command.
```bash theme={null}
curl -X 'POST' \
'http://localhost:/images' \
-H 'accept: application/json' \
-H 'Content-Type: multipart/form-data' \
-F 'file=@sample.jpg;type=image/jpeg'
```